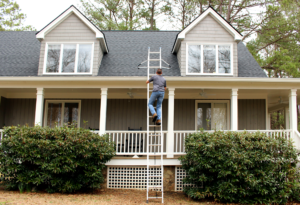
Roof inspections have evolved
You can still send a technician clambering onto shingles—boots, ladder, and all—or you can scan every inch with a drone in minutes. Each method has unique advantages and drawbacks. By understanding the difference, Triangle homeowners can choose the right approach for safety, cost, and peace of mind.
How Traditional “Feet on Shingles” Inspections Work
Roofers physically access the roof surface:
- Carry ladders, tools, and moisture meters to the eaves.
- Walk every slope, valley, and flashing by foot.
- Use hand-held thermal cameras or moisture probes in attic spaces.
This hands-on process lets inspectors tap, listen, and get a true tactile sense of soft spots or loose nails—often catching issues that cameras miss.
Drone-Based Inspections: Eye in the Sky
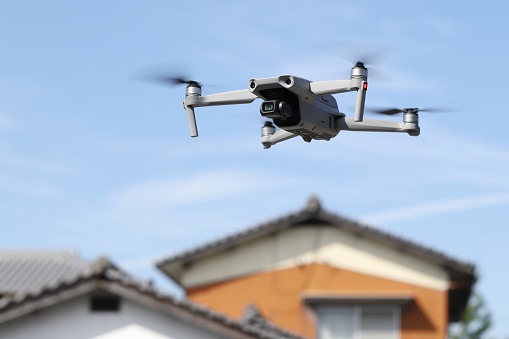
Drones equipped with cameras and thermal sensors hover above your roof:
- Fly a pre-programmed grid to capture high-resolution stills and video.
- Generate thermal maps to highlight insulation voids or hidden moisture.
- Deliver geotagged images to desktop or mobile within hours.
Drone surveys avoid ladder risks, spot hail scuffs or granule loss, and cover multi-unit or steep-pitch roofs in a fraction of the time.
Comparison: Pros and Cons
| Feature | Drone Inspections | Feet on Shingles Inspections |
|---|---|---|
| Safety | Ground-based; no fall risk | Inspector on roof; risk from ladders and slopes |
| Speed | 15–30 minutes for single-family homes | 1–2 hours, depending on attic access and complexity |
| Detail | High-res imagery; thermal scans—but no tactile feedback | Visual + hands-on probing for soft spots and leaks |
| Artisan Cost | $250-350 per inspection | $250–$350 per inspection, plus potential overtime |
| Accessibility | Steep, multi-story, or complex roofs easily reached | Limited on very steep or obstructed roofs |
| Weather Dependency | Operates up to light rain or wind | Requires dry, stable conditions for safety |
Cost & Accessibility
At Artisan Quality Roofing, a drone or ladder inspection costs $250 to $350. Traditional inspections tend to run $300 and up—especially if scaffold or safety harnesses are needed for steep or multi-story homes. Drones excel when roofs are high-pitched or have fragile materials like cedar shakes. If you suspect a minor leak in a low-pitch Cary ranch, feet on shingles may uncover subtle attic damage that cameras can’t detect.
When to Choose Which
- Drone First, Follow Up by Foot: For quick storm-damage assessments across multiple properties in Apex or Durham.
- Feet on Shingles First: When age or leaks suggest hidden rot—physical tapping can locate decay under shingles.
- Hybrid Approach: Start with a drone scan to map damage, then send a climber to probe suspect spots and install sensors or patch minor leaks.
Frequently Asked Questions
Q1: Are drone inspections legal in residential areas?
Yes—as long as the operator holds an FAA Part 107 certification and respects local privacy ordinances.
Q2: Can drones detect roof leaks?
Thermal-capable drones highlight temperature differences from moisture, but they can’t confirm active leaks without follow-up testing.
Q3: Do I need to clear vegetation or obstacles?
Minimal clearance—drones can hover near eaves and gutters. For on-roof inspections, branches and vines must be trimmed for safe access.
Q4: How often should I inspect my roof?
Annually, or after significant weather events like hailstorms or high winds common in Triangle summers.
Q5: Will a drone damage my solar panels or roof vents?
Professional drone pilots maintain safe distances; quality equipment avoids propeller strikes on panels or vents.
Internal Links
External Links
- FAA Part 107 Drone Pilot Requirements: faa.gov
- NRCA Guidelines on Drone Inspections: nrca.net
- Thermal Drone Inspections Explained: roofingcontractor.com
