Take a step outside and look at your roof. Do you see any shingles that look bumpy or lifted? 9 times out of 10, you’re seeing roof nail pops.
We’re here to make you a roof nail pop expert. Okay, maybe not an expert. But we’ll cover all the basics including:
Let’s get started!
What are roof nail pops?
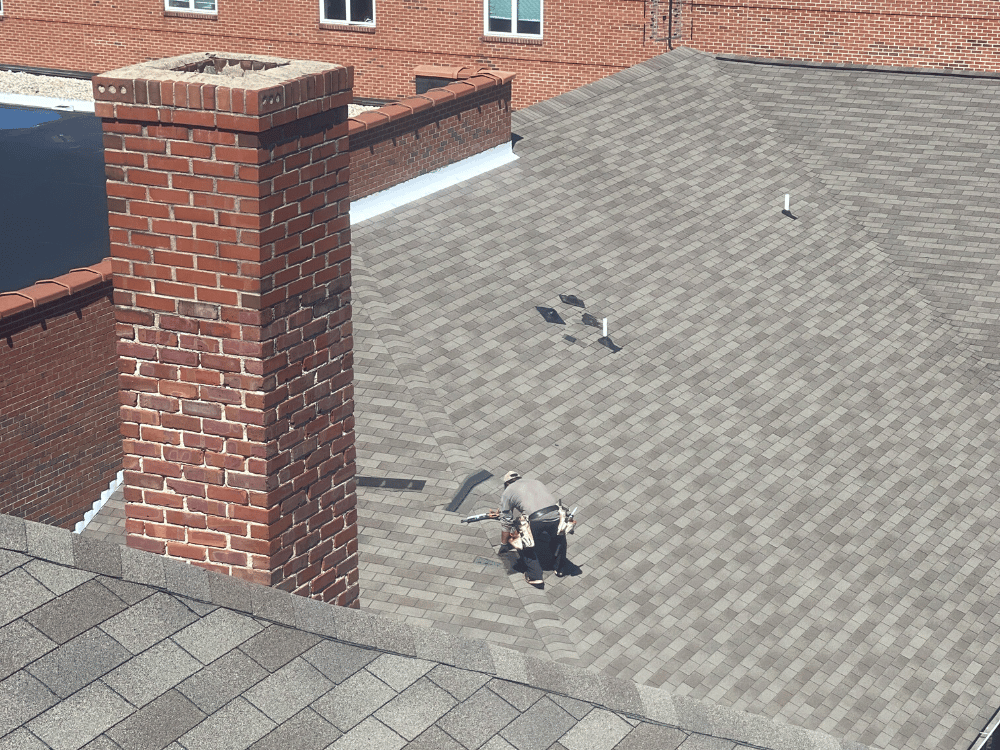
Every asphalt roof is made up of individual shingles. Roofing contractors use hammers or pneumatic nailers to secure the shingle to the roof decking. Most shingles require 4-6 nails per shingle.

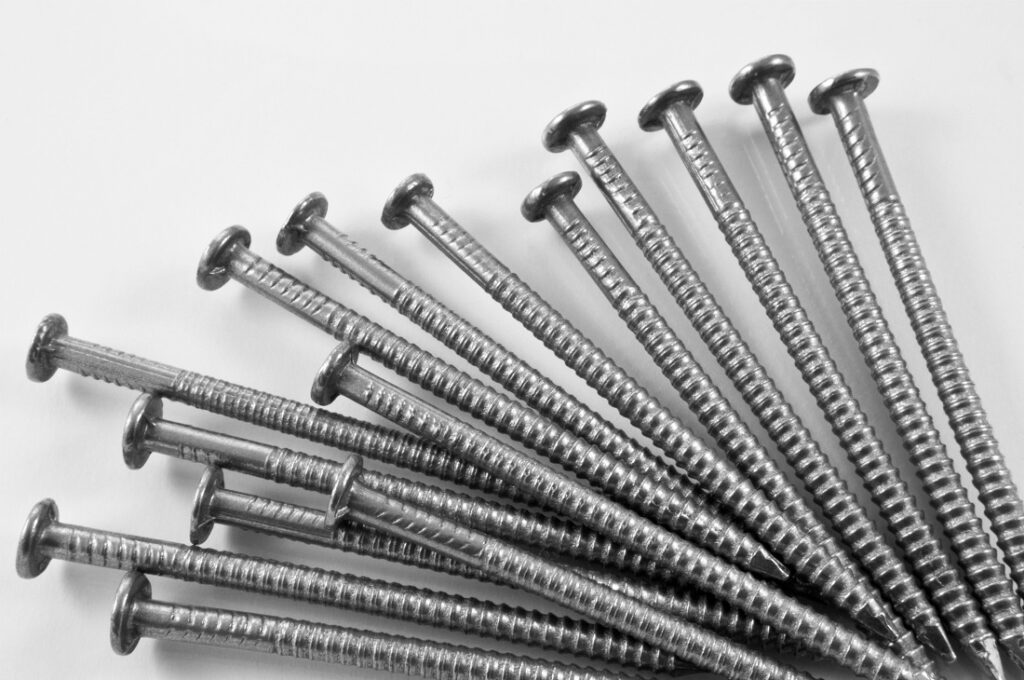
A skilled roofing contractor will use long ring shank nails. The rings around the nail shank allow the nail to grip the shingle and properly secure the nail in, while the large, flat nail head acts as a seal to keep water from entering.
For different reasons (outlined in the next section), moisture can seep into and around the shingle nail. Over time, this causes two issues that create nail pops.
First, the moisture can seep into the wood sheathing, causing expansion of the decking that pushes the nail upward.
Secondly, the rings around the nail shank can wear down and rust off. Without the nail shank rings, the nail becomes smooth and starts to lift upward.
As the nail gets pushed upward, it “pops” out and pushes against whatever is on top of it. In most cases, that is a roof shingle.
Nail pops don’t just occur on the shingles. You can also find them on flashing, vents, and boots (pictured below).
What causes roof nail pops?

Almost every roof nail pop is due to an improper roof installation. Of course, roofs are installed by people, and to err is human. With the thousands of nails used on each roof installation, it’s near impossible to guarantee every single nail is installed perfectly.
However, certain best practices can prevent roof nail pops 99% of the time. Unfortunately, there are many untrained roofing crews out there with good intentions but poor installation techniques or roofing knowledge.
Let’s look at the most common issues we see
1. Improper nailing
There are many common nailing errors for roof installations, but we’ll just focus on the ones that cause nail pops.
First, nails should go straight into the shingle so that the nail head is flat against the shingle, creating a seal. If the nail is driven in crooked, it won’t create that seal. As a result, water could seep under the shingle and nail during wind-driven rains.
Secondly, the nail needs just the right amount of pressure. An overdriven nail can break the shingle, while an underdriven (loose) nail won’t create the necessary seal.
Proper nailing of the roof shingle in the designated nailing area is one of the most critical aspects of correctly installing a new roofing system, and it’s one that is often overlooked.
Dustin Harris, Roofing Expert at Artisan Quality Roofing
There is a famous debate on whether hand nailing or pneumatic nailing is better. Okay, maybe it’s not really a famous debate, but it’s at least famous among roofers. Those who fall on the hand-nailing side say that hand-nailing allows for more control. In contrast, those who taut the pneumatic nailer argue that it reduces human error and provides consistent results.
At Artisan, our crew has experience with both techniques, but we recommend pneumatic nailers. While older pneumatic nail guns had more room for error, the modern nail guns make it near impossible to drive the nail incorrectly. You can set the pressure setting so each nail is driven in with the exact same pressure. Not only that, the nail gun is created to make it impossible to drive a nail crooked. It’s pretty cool, if we do say so ourselves.
2. Wrong nails
Hopefully, we haven’t bored you yet talking about roof nails. But the more you know, the better prepared you are to take care of your home, right?
In addition to proper nailing techniques, there are also specific nails required for a proper roof install. While the length and material can vary, the key is to opt for a long nail with a ring shank.
If the nail is too short, it won’t penetrate the sheathing enough to actually secure the shingle to the roof. Furthermore, if the nail shank is smooth instead of ribbed, it won’t fasten as well into the shingle but can easily come loose.
3. Damaged sheathing
Roof sheathing are the large wooden boards that cover your rafters and act as the base for the shingles to nail into.
If your roof sheathing is in poor condition, then the shingles won’t be as secure. For example, if a sheathing board is rotted, the wood becomes soft and will no longer hold a nail well.
Another thing we often don’t think about is the number of nail holes a sheathing board accumulates over time. Every roof installation uses thousands of nails, each creating its own hole in the sheathing. If your sheathing has been through multiple roof replacements and wasn’t thoroughly inspected for quality during each project, it might be too damaged and “used up” to hold new nail holes.
Both of these scenarios make it easy for nails to come loose over time.
4. Inadequate attic ventilation
Lastly, inadequate roof ventilation can create nail pops. If your attic isn’t properly ventilated, it will grow hot and humid in the summertime. The humidity and heat can make the sheathing boards swell, expand, and contract – pushing up any loose or smooth (not ribbed) shingle nails.
Adequate attic ventilation requires intake and exhaust vents to allow proper airflow. Intake vents include soffit vents and gable vents. For exhaust vents, most homes have either an attic fan or ridge vents depending on the roof structure. If you have too much or too little intake or outtake, your attic won’t properly ventilate.
Why are roof nail pops bad?
Now that we’ve got all that nitty-gritty stuff out of the way. Let’s get to why we are here.
What’s wrong with nail pops?
These little guys, while seemingly harmless, can create roof leaks, sheathing damage, and loose shingles. Let’s discuss how.
As the nail pushes upward, it typically lifts the shingle up with it. This loosens the shingle and breaks the sealant bond between the two shingles. The airflow then continues to dry out the shingle sealant. Over time, the shingle may start to flap, loosen, and eventually blow off the roof during a windy day.
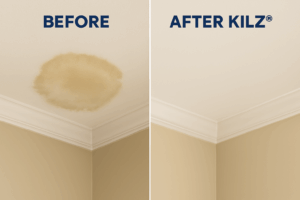
As far as leaks go, once the shingle lifts up, it’s particularly easy for wind-driven rain to get under the shingle and seep through the nail hole. If it’s a slow unseen leak, it can eventually create sheathing rot. If it’s a larger leak, you’ll start to notice water spots on your ceiling or puddles in the attic. No fun.
Even if the nail doesn’t push up the shingle, it could still break through the shingle, creating a nice entry point for rain (pictured above).
How to fix a roof nail pop

Can we get some good news, please? No problem.
The good news is that roof nail pops are an easy fix.
During our roof maintenance tune-ups, we thoroughly inspect the roof to locate and correct roof nail pops.
To fix a nail pop, our technicians carefully lift up the shingle covering the nail pop. If the shingle is damaged, we remove the shingle.
Next, we remove the nail causing the nail to pop. We then drive a new ring shank nail into the shingle in a new location.
Finally, we apply roof sealant to reseal the shingle.
If we removed the shingle, we will then install a new shingle.
Pretty straightforward, right? While not necessarily a DIY project, the simplicity of the fix does mean a cheaper roof repair bill.
How to prevent nail pops & roof damage

So how can we prevent nail pops and roof damage in the first place?
We recommend visually inspecting your roof once a year. If you notice anything out of place or see lifted shingles, call a local roofing contractor to inspect your roof.
Additionally, consider getting a roof tune-up every 8-10 years to fix any damaged shingles, nail pops, and worn-out roof boots.
If you are currently in the market for a new roof, take some time to become a technical expert, at least on the basics. Every shingle manufacturer has public source shingle manufacturer guides. With these guides, you can learn what a proper roof installation should look like.
When selecting a contractor, your best bet is to choose a local roofing contractor that has its own in-house crews. Always be sure to confirm who will be doing the actual installation, and verify they are insured and are certified shingle installers.
At Artisan, our goal is to empower homeowners to make the best decisions for their homes. To promote that effort, we offer free virtual and onsite roof consultations to educate homeowners on what a proper roof installation should look like. This way, regardless of who they hire for the project, they can be confident in their decision.
Curious how your roof is doing? Have trouble identifying nail pops? Schedule a free roof inspection today!


